(1543 products available)


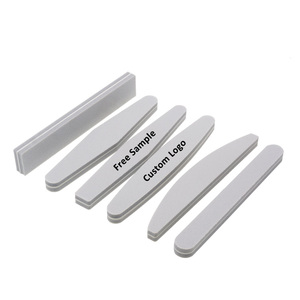
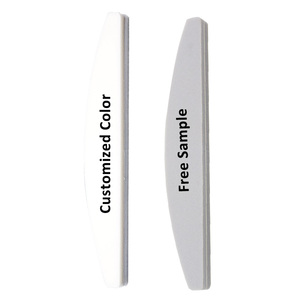

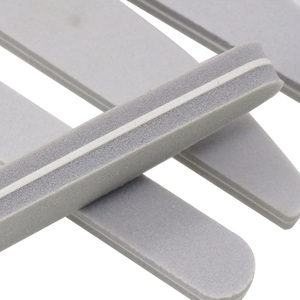



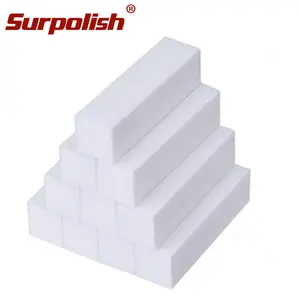


Nail buffer whites are essential tools for perfecting the nails. They are made of foam material and have a grit that gently polishes the nail surface to a shine. The nail buffer comes in various types, which include the following:
Each type of nail buffer is designed for specific purposes, so users should choose one that best fits their needs and preferences. Regular nail buffering helps achieve a smooth and polished look.
There are several factors to consider when choosing nail buffer whites to ensure that customers get the right nail buffer for their needs. Here are some of them:
Type of Nails
The nail buffer for natural nails should be gentle, while those for acrylic or gel nails may need a coarser buffer. Regular nail buffers may not work well on hard nails. In such cases, opt for harder buffers like glass buffers. Select a product that complements the nail's hardness while being gentle enough to maintain its health.
Desired Shine Level
Consider whether customers want a natural shine or a high-gloss finish. Nail buffers with different grit levels can achieve varying shine levels. Fine grit buffers can provide a subtle sheen, while medium grit buffers can create a more polished look. Choose accordingly to achieve the desired result.
Buffer Material
Nail buffers come in various materials, including foam, emery, glass, crystal, and metal. Foam buffers are soft and gentle, emery is more abrasive, and glass and crystal buffers are smooth and durable. Each material has its unique feel and effectiveness, so consider the preference for texture and performance when choosing.
Portability and Size
Nail buffers widely vary in size and shape, making some more convenient than others for travel or on-the-go use. Consider the buffer's size in relation to the fingernail or toenail for effective buffing. Portability is also important if the customers frequently get manicures or pedicures; choose a buffer that fits easily into purse or grooming kits.
Packaging
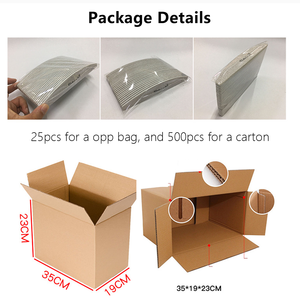
Nail buffers usually come in individual or set packs. Single buffers are ideal for targeted use, while sets often include multiple buffers with varying grits for comprehensive nail care. Consider the value and convenience of having a complete set versus just one buffer based on individual nail care needs.
Price and Value
Consider the cost of nail buffers in relation to their frequency of use and durability. More expensive buffers may offer better quality and longer-lasting performance, while budget-friendly options are available for occasional use. Assess the value received based on material, effectiveness, and how long the buffer will maintain its utility.
Prepare the Nails
Start with clean, dry hands. Remove any old nail polish with a gentle remover. Wash hands with soap and water, then dry them. Push back cuticles with a soft cloth or cuticle pusher to expose the nail surface.
Shape the Nails
Use a nail clipper or nail file to trim and shape the nails. Decide on the desired length and shape, whether oval, square, or almond. File the edges of the nails gently to avoid roughness.
Buffing the Nail Surface
Take the white buffing block and select the coarseness level on the different sides. If there is a labeling side, begin with the roughest side, then move to medium and smooth. Buff the nail surface evenly in one direction. Avoid going back and forth, which causes splitting. Buff each nail until it becomes even and smooth. Achieve the desired shine level.
Shaping the Edges
Use the nail buffer to shape the edges of each nail. Gently round off the corners to avoid hooking or snagging. File the ridges on the nail's tip to achieve a smooth, polished look. Work slowly and methodically for even results.
Shining the Nail
If the buffing block has a shining side, use it next. Buff the nail surface using the shining side until it gets a high shine. Shine this side to enhance the natural luster of the nails.
Clean and Moisturize
Wipe nails with a soft cloth to remove excess dust from buffing. Wash hands again if needed. Apply cuticle oil or moisturizer to the nails, hands, and cuticles to hydrate them. Massage the oil or lotion into the skin for a completed manicure.
Product Safety
For safe use, avoid excessive pressure or force while buffing, which can thin the nails. Do not overuse the buffer or block, as frequent buffing may weaken the nails.
Nail buffer whites have various essential functions and features that allow users to achieve shiny and smooth nails. Below are some of them:
Q1: How often should one buffer their nails?
A1. It depends on the individual's nail health and grooming habits. If nails are naturally smooth, buffering may be done every few weeks. If they tend to become rough or need shaping frequently, it can be done more often. Just be careful not to overdo it, which can weaken nails.
Q2: Can buffering improve the health of my nails?
A2. Buffing does not make nails healthier in the sense of strengthening them. However, it can help eliminate imperfections like ridges or discoloration that may make nails look unhealthy. The shine achieved through buffing can help nails appear healthier, even if they aren't strengthened by the process.
Q3: Is nail buffing safe during pregnancy?
A3. Pregnant women can continue to buff their nails, provided they take precautions. The chemicals in polishes and removers may contain harsh substances, so it's best to avoid those. Buffing with a white block buffer is safe, as long as dust from nails is not inhaled. As with any beauty treatment, it's important to consult a doctor first and listen to one's body.
Q4: What should be avoided after buffing nails?
A4. After buffing, nails may be more prone to sensitivity or damage. Avoid harsh chemicals, frequent hand washing, and tight clothing that could rub against nails. Sunscreen should be applied if nails will be exposed to sunlight, as they are more vulnerable. Moisturizers should be used to prevent dryness from buffing.