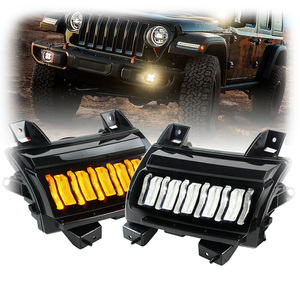
Types of Lighting Signal Assembly
Lighting signal assemblies are an essential part of vehicle safety and road traffic management. They come in various types, each designed to meet specific needs and use cases. Here are some common types of lighting signal assemblies:
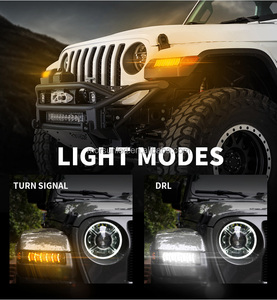
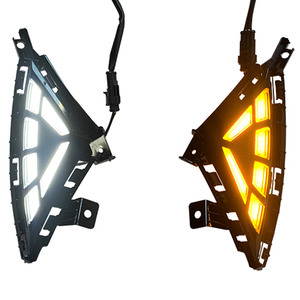
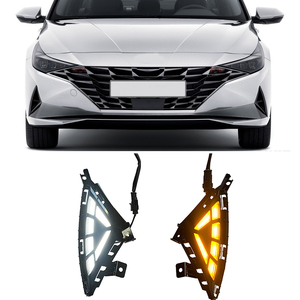
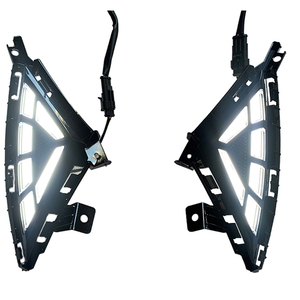
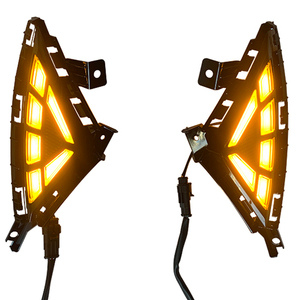
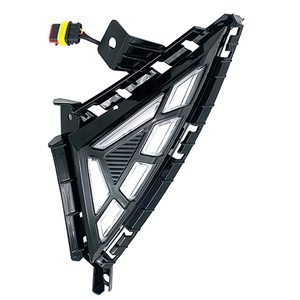
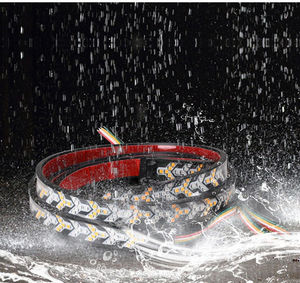
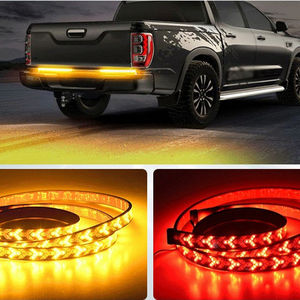
- Turn Signal Lights: Also known as indicators or blinkers, these lights are used to signal a change in direction. They emit an amber or yellow light that blinks on and off, alerting other drivers of the intended direction of travel. Turn signal lights are required by law in most countries and are typically located at the front, rear, and on the side of the vehicles.
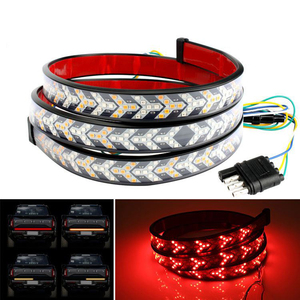
- Brake Lights: Brake lights are a critical component of vehicle lighting assemblies. They signal drivers behind the vehicle that the driver is slowing down or coming to a stop. These lights are usually red and activated when the driver presses the brake pedal. They help to prevent rear-end collisions by providing clear visibility of the vehicle's braking intentions.
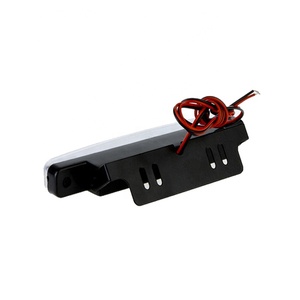
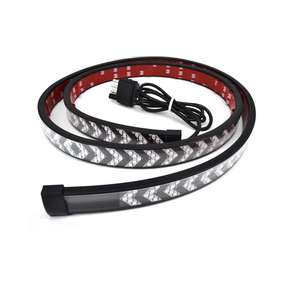
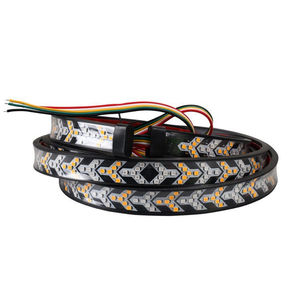
- Tail Lights: Tail lights are an essential component of vehicle lighting assemblies. They are located at the rear of the vehicle and serve multiple purposes. Firstly, tail lights provide visibility to vehicles traveling behind, especially in low-light conditions or adverse weather. Secondly, tail lights are designed to indicate the vehicle's width to drivers approaching from the sides, ensuring safe maneuvering in tight spaces. Additionally, tail lights often incorporate brake lights, turn signals, and reflective elements, enhancing overall rear visibility and communication of the vehicle's actions.
- Hazard Lights: Hazard lights, also known as emergency flashers, are an essential feature of vehicles. When activated, all turn signal lights blink simultaneously to alert other drivers of a potential hazard or to indicate that the vehicle is stationary. Hazard lights are typically used in emergencies, such as vehicle breakdowns, accidents, or when parked on the roadside.
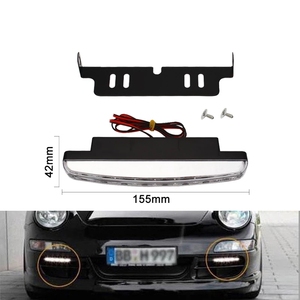
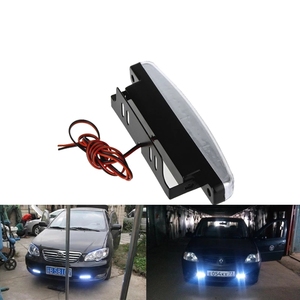
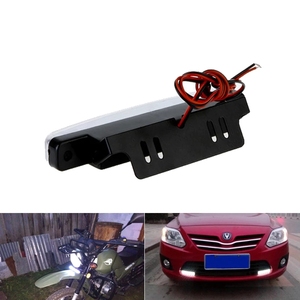
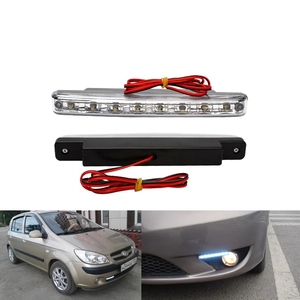
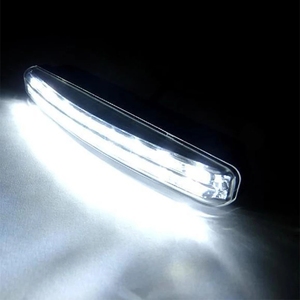
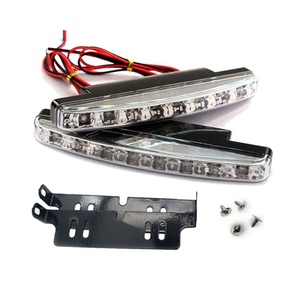
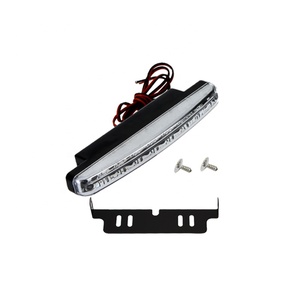
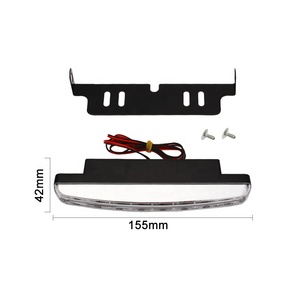
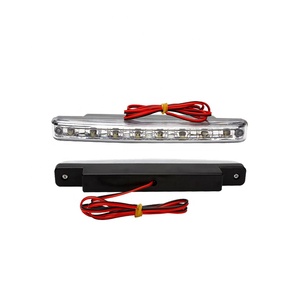
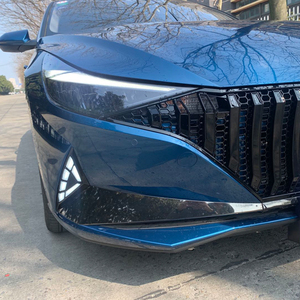
- LED Daytime Running Lights (DRL): Daytime running lights (DRL) are a vehicle lighting assembly feature that enhances visibility and safety during daylight driving. Generally integrated into the front of the vehicle, these lights emit a white light that remains illuminated while the vehicle is in motion. By making the vehicle more conspicuous on the road, DRL reduces the likelihood of collisions, especially at intersections and in traffic. In some regions, such as Europe, daytime running lights are mandatory for all newly manufactured vehicles.
- Cornering Lights: Cornering lights are supplemental lighting added to some vehicles. They automatically illuminate when turning or changing lanes at higher speeds. These lights help to light up the side of the road, improving visibility and safety in turns.
Specification and maintenance of lighting signal assembly
-
Regular inspection
Like any other car part, turn signal assemblies need regular inspection. This makes any problems with the assembly visible before they get out of hand. The inspection should check for things like:
- Bulb burnout
- Cracks or damage to the lens
- Moisture accumulation inside the lens
- Loose or corroded electrical connections
-
Cleaning
Cleaning the assembly lights is just as important as inspecting them. Dust, grime, and other airborne contaminants can cause the lights to dim. Cleaning can improve visibility and safety. When cleaning, it is important to also clean the connectors and terminals.
-
Replacement of worn-out parts
After inspection, if any parts of the turn signal assembly are found to be damaged or worn out, they should be replaced. This should be done as soon as possible to avoid further damage.
-
Proper bulb replacement
In the case of bulb replacements, the same type and size of bulbs that were previously in use should be used. This is important because using a different type of bulb can cause damage to the assembly.
-
Sealing and gaskets
The gaskets and seals on the turn signal assemblies need to be checked. If any are found to be damaged, they need to be replaced. This prevents moisture from getting into the assembly and causing damage.
-
Proper wiring and installation
The wiring of the turn signal lights needs to be checked to ensure that it is properly routed and secured. Loose wiring can cause intermittent signal issues. The assembly also needs to be installed properly to avoid damage.
How to Choose Lighting Signal Assembly
When selecting the right vehicle lighting signal assembly for specific needs, consider the following factors:
-
Visibility and brightness
Consider the visibility and brightness of the lighting signal assembly. Choose one with high brightness to ensure the signals are visible under different conditions. Visibility can be affected by the weather, the time of day, and the traffic.
-
Durability and weather resistance
Consider the durability and weather resistance of the lighting signal assembly. It should be made from strong materials that can withstand wear and tear from regular use. The assembly should also be resistant to different weather conditions, such as rain, snow, and fog.
-
Ease of installation
Consider the ease of installation of the lighting signal assembly. Choose one that comes with all the necessary parts and instructions for installing it quickly and easily. Some assemblies can be installed using basic tools without professional help.
-
Compatibility with the vehicle
Consider the compatibility of the lighting signal assembly with the vehicle. Ensure that it is designed to work with the specific make and model of the vehicle. The assembly should be integrated into the vehicle's electrical system.
-
Legal requirements
Consider the legal requirements for the lighting signal assembly. Different countries and regions have laws governing the type and color of signals required. Ensure that the assembly meets all the necessary legal standards.
-
Cost
Consider the cost of the lighting signal assembly. Prices can vary depending on the brand, features, and quality. Set a budget and compare different options within that range. Remember that a higher initial cost may result in long-term savings due to durability and reliability.
-
Warranty and support
Consider the warranty and support offered by the manufacturer of the lighting signal assembly. Choose one that has a reasonable warranty period to cover defects and problems. Additionally, look for manufacturers with good customer support to help with any questions or issues.
How to DIY and Replace Lighting Signal Assembly
Replacing a vehicle's lighting signal assembly is a straightforward process that can be accomplished with basic tools. To DIY and replace the lighting signal assembly, follow these steps:
1. Choose the right assembly:
Before anything else, make sure to select the appropriate lighting signal assembly that is compatible with the specific vehicle's make and model. This guarantees a proper fit and optimal operation of the vehicle's lighting and signaling functions.
2. Gather tools:
Prepare the necessary tools for the replacement task. These typically include screwdrivers (flathead and philips), pliers, socket wrench set, and electrical tape. Additionally, having a torque wrench on hand can be useful for reassembling parts to their original specifications.
3. Disconnect power:
To ensure safety and avoid damage to the vehicle's electrical system, disconnect the vehicle's battery before beginning the replacement process. After locating the battery, use a wrench to remove the negative terminal connection first, followed by the positive terminal. This prevents any accidental short circuits or electrical interference during the replacement.
4. Access the lighting signal assembly:
Depending on the vehicle's design, accessing the lighting signal assembly may require removing some interior panels or covers. Use the appropriate screwdrivers to carefully remove any screws or fasteners holding these panels in place. Take care not to damage or break any clips or tabs while removing them.
5. Remove the old assembly:
Once the assembly is accessible, locate the screws or bolts securing it in place. Use the appropriate socket wrench or screwdrivers to loosen and remove these fasteners. Gently pull the old assembly away from the steering column or dashboard, being cautious not to damage any surrounding components. Disconnect the electrical connectors by gently pulling them apart. Take note of their orientation and placement for reconnecting later.
6. Install the new assembly:
Connect the electrical connectors of the new lighting signal assembly to the vehicle's wiring harness. Ensure they are securely pressed together and match the original assembly's orientation. Carefully position the new assembly in place, aligning it with the mounting holes. Secure it with the previously removed screws or bolts, tightening them firmly but not excessively to avoid damaging the assembly or the surrounding components.
7. Reassemble and test:
After installing the new lighting signal assembly, reassemble any removed panels or covers in the reverse order of disassembly. Reconnect the vehicle's battery by attaching the positive terminal first, then the negative terminal. Turn on the vehicle and test the new assembly's functionality, including the turn signals, headlights, and any additional features.
Q and A
Q1: What is the difference between signal lights and brake lights?
A1: Signal lights (turn signals) let other drivers know which direction the vehicle intends to go. In contrast, brake lights inform drivers behind that the driver is slowing down or has stopped.
Q2: What is a light assembly?
A2: Light assembly refers to the components that make up a light unit, such as the lens, bulb, housing, and mounting parts. A lighting signal assembly is a signal light unit on a vehicle.
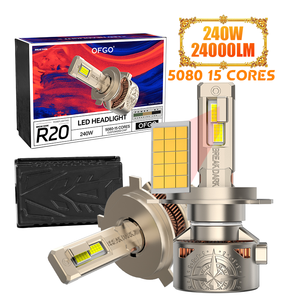
Q3: Can one replace a halogen bulb with an LED in a signal light assembly?
A3: It is possible to replace a halogen bulb with an LED in a signal light assembly. However, LED bulbs require a different electrical current than halogen bulbs. They may need an adapter or resistor to work properly.
Q4: How long do light signal assemblies last?
A4: The lifespan of signal lights can vary depending on factors like the type of bulb used and driving conditions. Generally, LED signal lights last the longest—up to 100,000 hours—while halogen bulbs may only last 1,000 hours.
Q5: Do signal lights use a lot of electricity?
A5: No, they use very little. LED signal lights are energy-efficient and consume less power than traditional bulb types, making them a better choice for vehicles.


 浙公网安备 33010002000092号
 浙B2-20120091-4